Floor plan
Creating Floor Plans
There are a couple of ways to create a floor plan in the OSIS Admin tools.
We can create a single floor plan or perform a bulk create which will create a floor plan for all the floors in every building in OSIS.
Creating a New Floor Plan
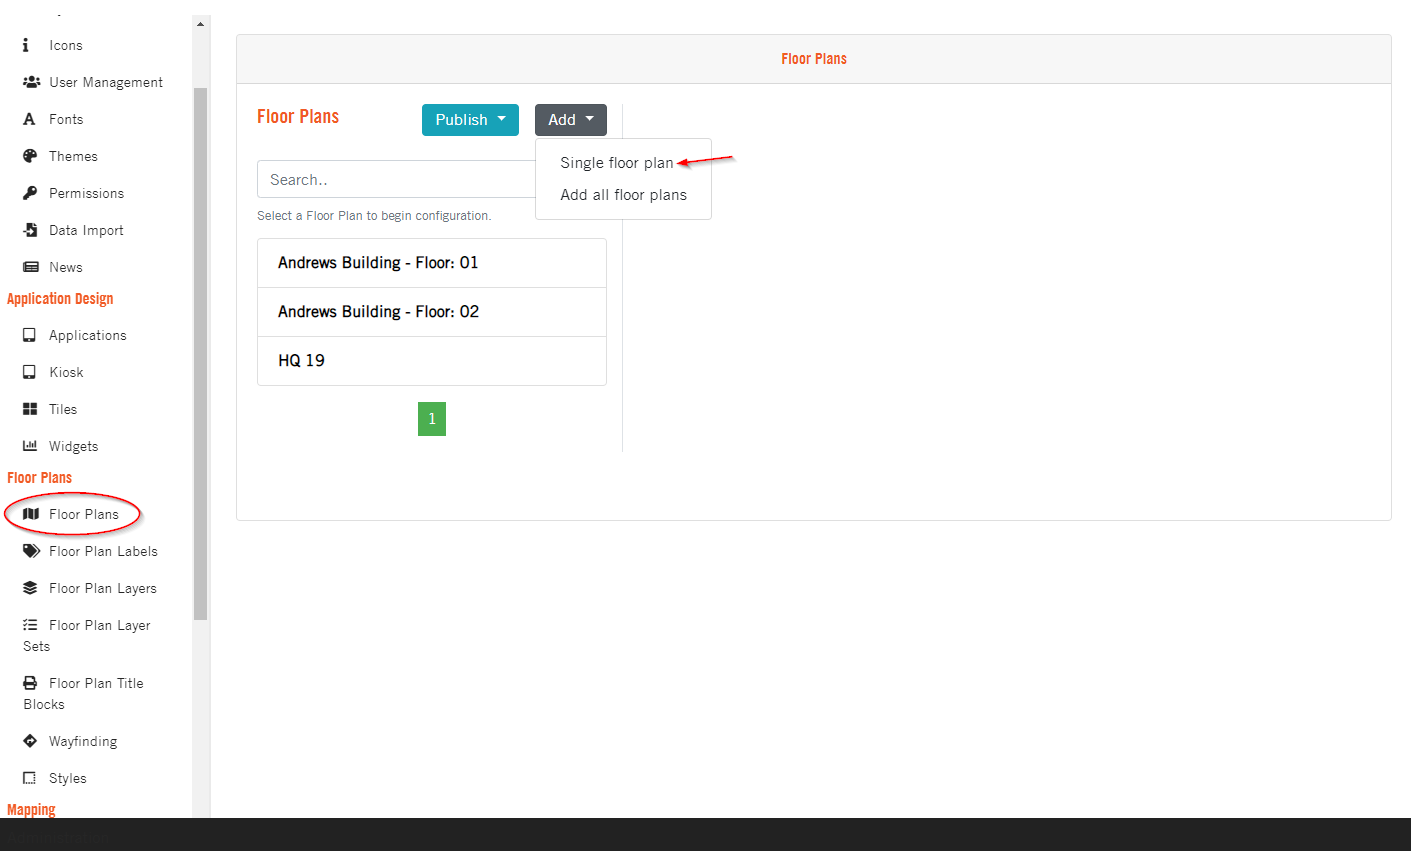
Open the OSIS Admin tools page (/osis/admin/) and scroll down to the Floor Plan Section. Select Floor Plans from the list.
Click Add and then select Single floor plan to open new floor plan form.
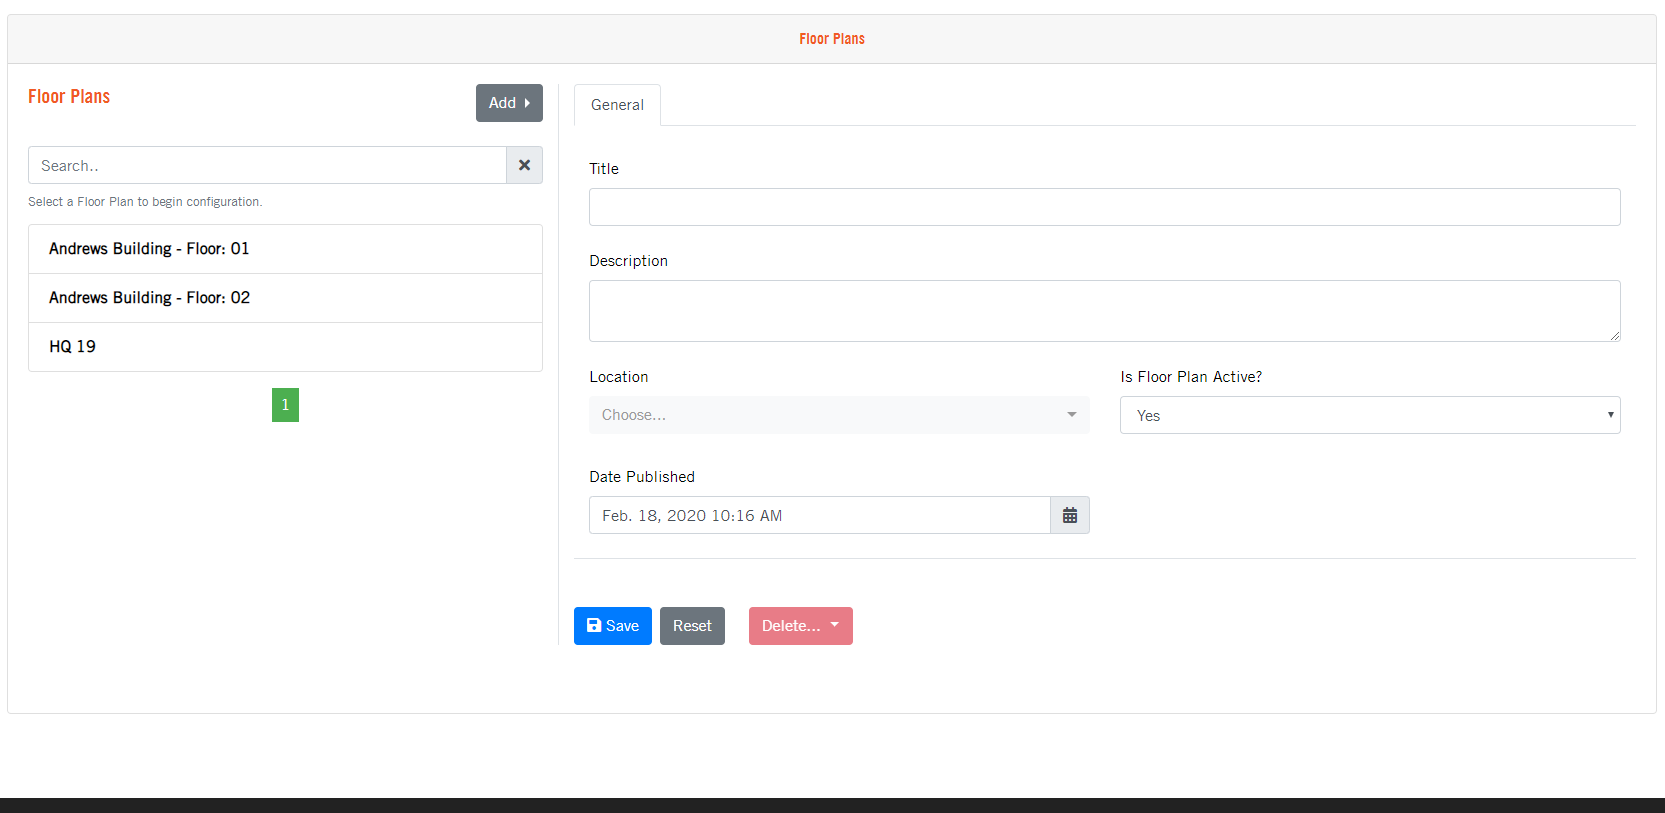
Give the floor plan a Title that is descriptive. Add a Description, if necessary. Select the Location(Floor) which this floor plan represents. Set the floor plan as Active in order for it to be visible to your users.
Set a preferred Publish Date for this floor plan, please note that if a later date/time is selected the floor plan will NOT appear until that date/time.
Save floor plan.
Bulk Creating Floor Plans
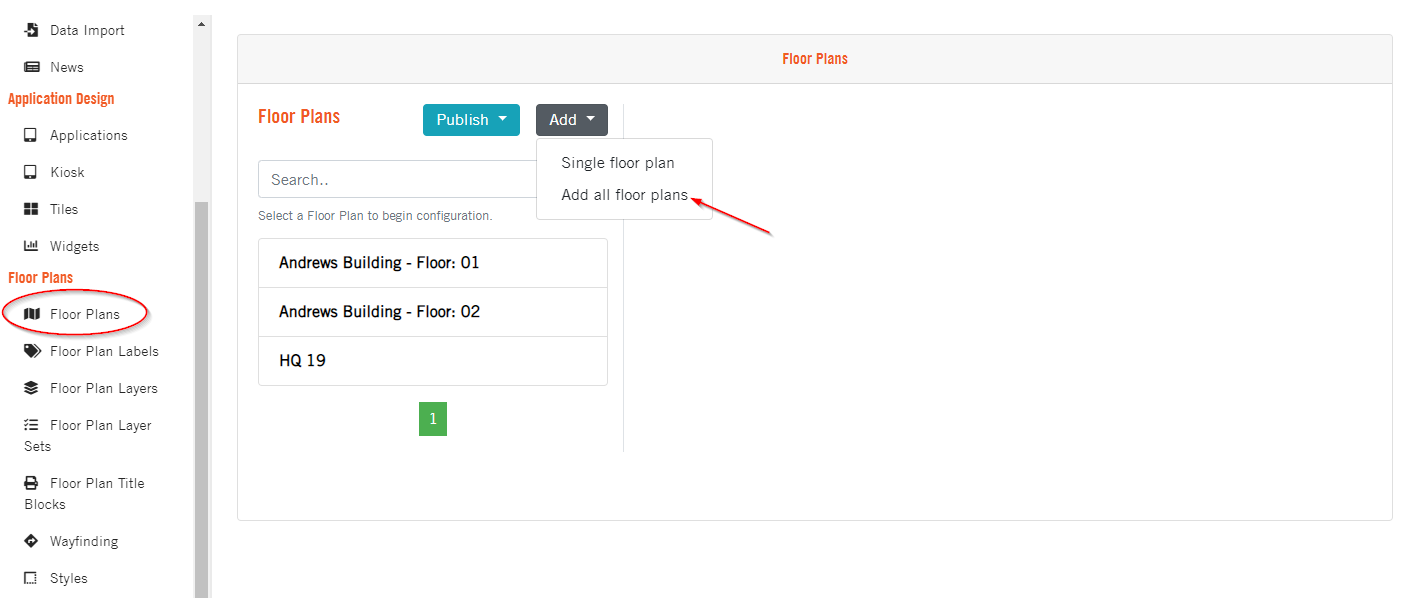
Open the OSIS Admin tools page (/osis/admin/) and scroll down to the Floor Plan Section. Select Floor Plans from the list.
Click Add and then select Create for all floors to trigger the automatic creation.
Publishing Floor Plan SVG drawings
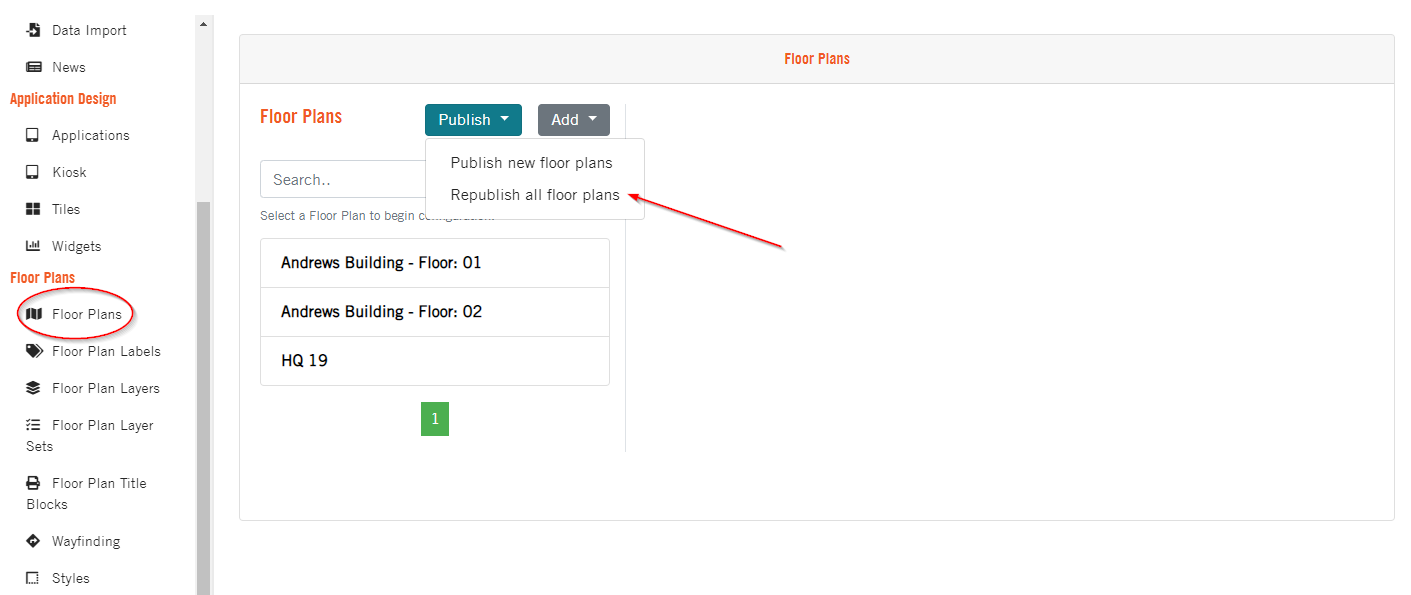
Open the OSIS Admin tools page (/osis/admin/) and scroll down to the Floor Plan Section. Select Floor Plans from the list.
Publish new drawings only
Click Publish and then select Publish new floor plans to republish all drawings in OSIS. This will open a new tab where you can track the publishing job.

Republish all drawings
Click Publish and then select Republish all floors to republish all drawings in OSIS. This will open a new tab where you can track the publishing job.