Full guide
Floorplan
A floorplan in OSIS is a tool used to visualize a floor within a building.
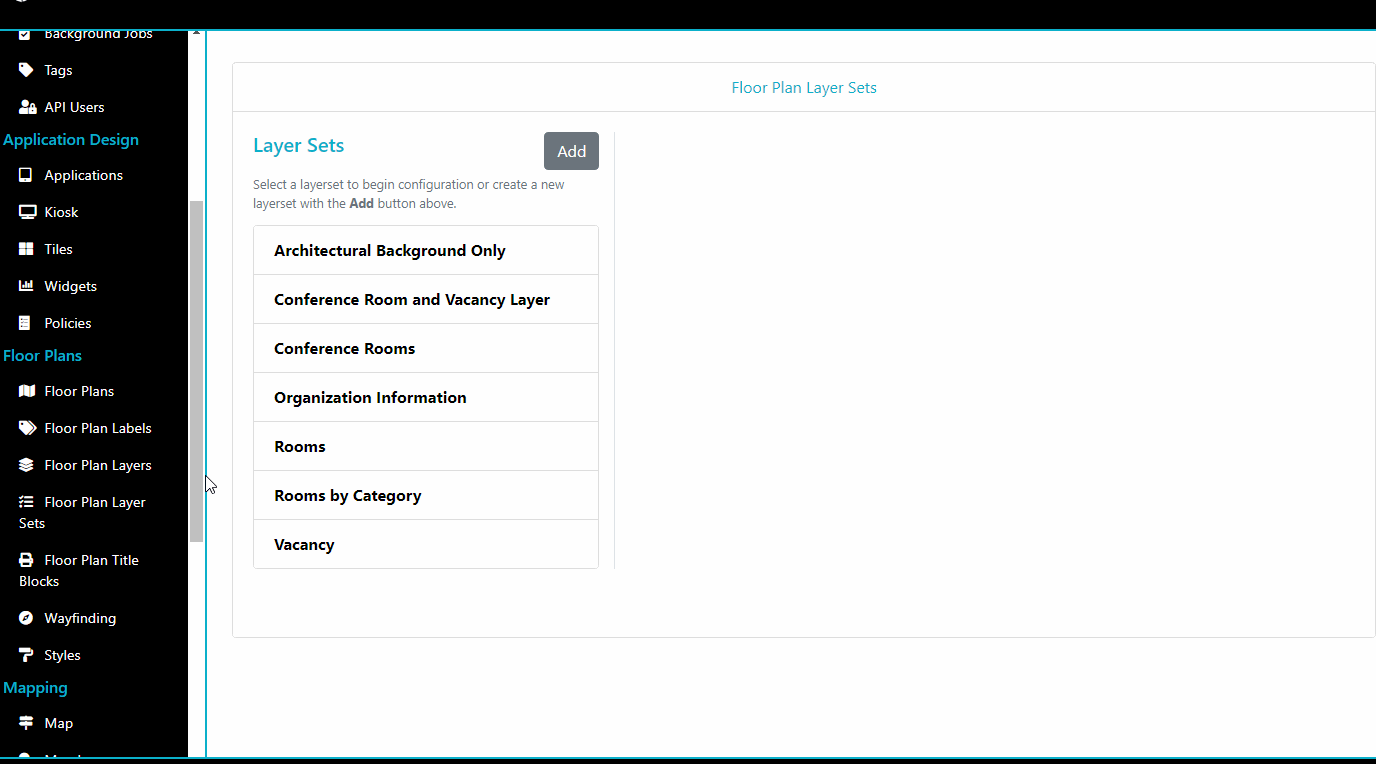
What is a Layer Set.
A Layer Set is a grouping of layers that highlight specific areas within a floorplan.
We need to create Layers and Labels in order to correctly setup a Layer Set.
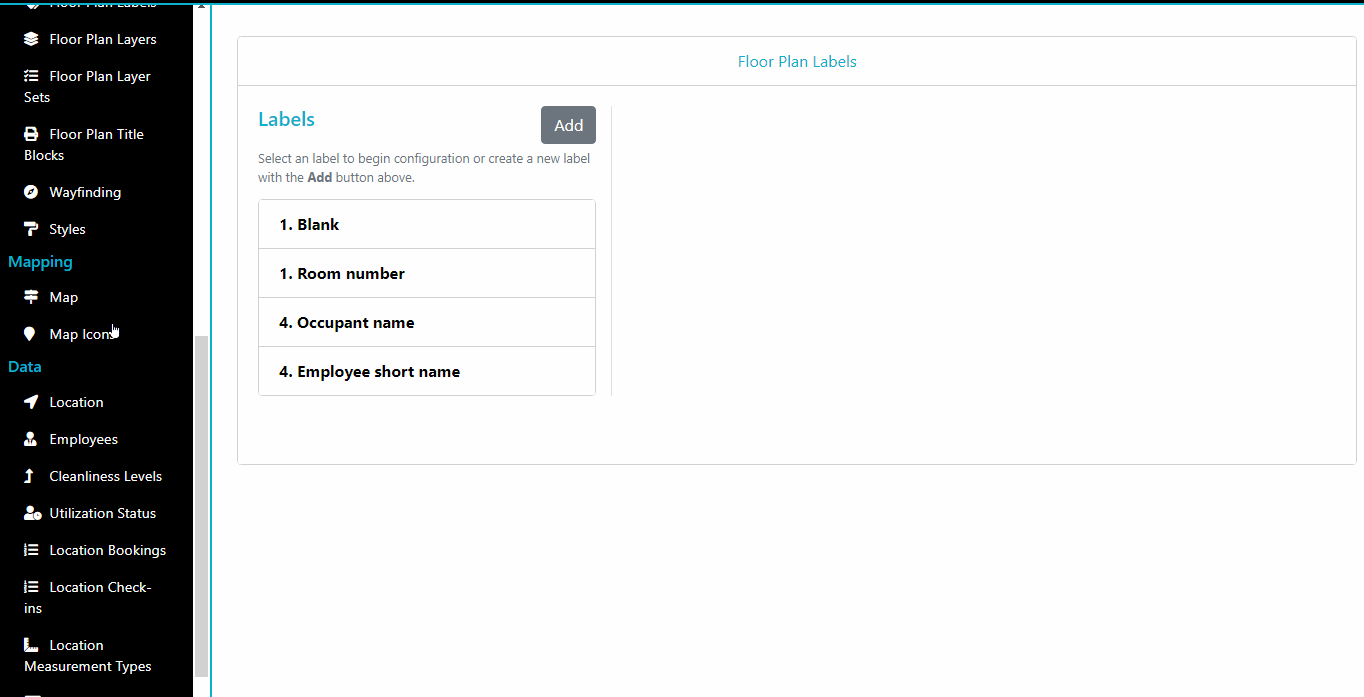
1. Labels
A Layer Set will have a default label, and another list of other labesl that can be seen on the Layer Set. Simple examples of labels are Room Number, Occupant Name.
Creating a Label
2. Layers
A Layer is a depiction of a floor plan that can be styled based on different factors and can be combined with other layers to create a layer set.
Layers also contain pop-ups. These display information like data, links, and images, and appear when a space is clicked on within a floorplan.
Please note users will only see the pop-up for the topmost layer within a Layer Set.
Layers can be of two types:
- Asset: layers that can be stylized and can display information in labels or pop-ups.
- Aesthetic: indicate background details and used for context like architecture and furniture.
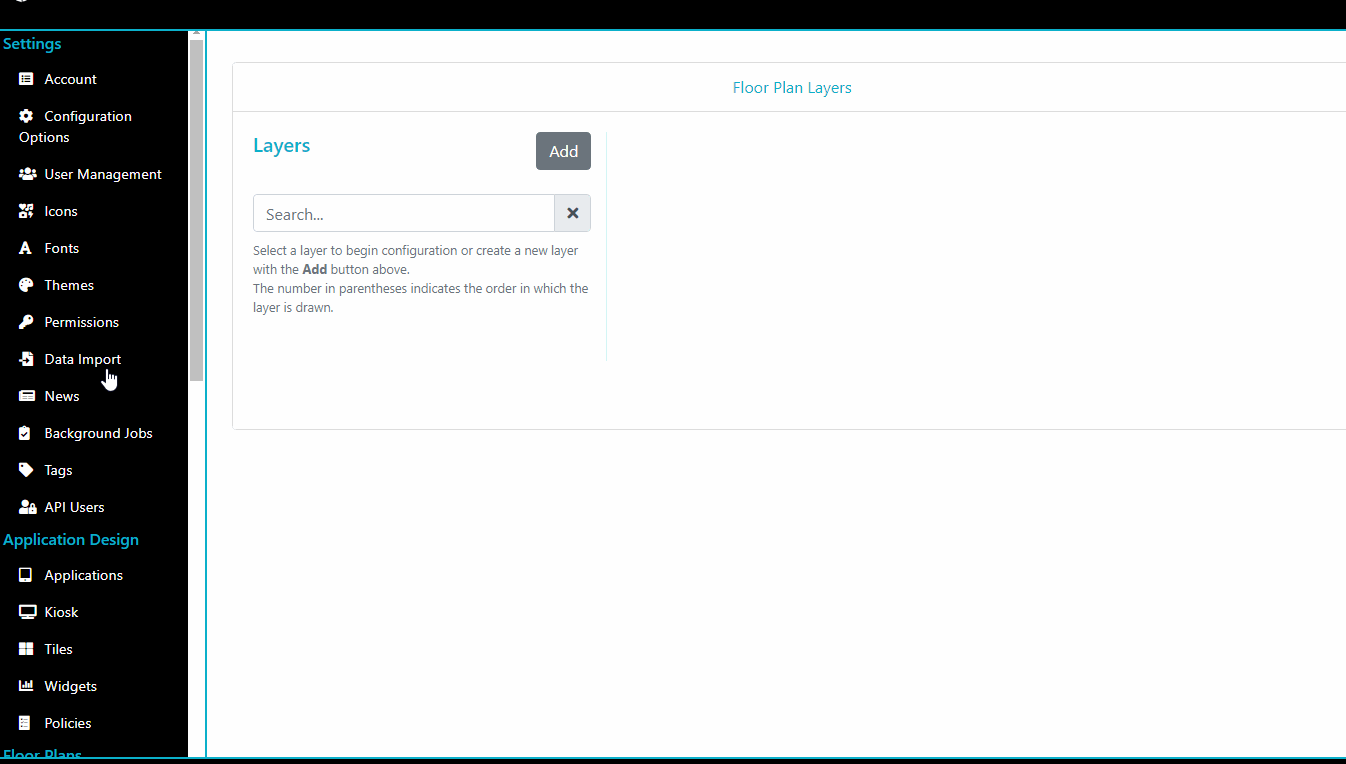
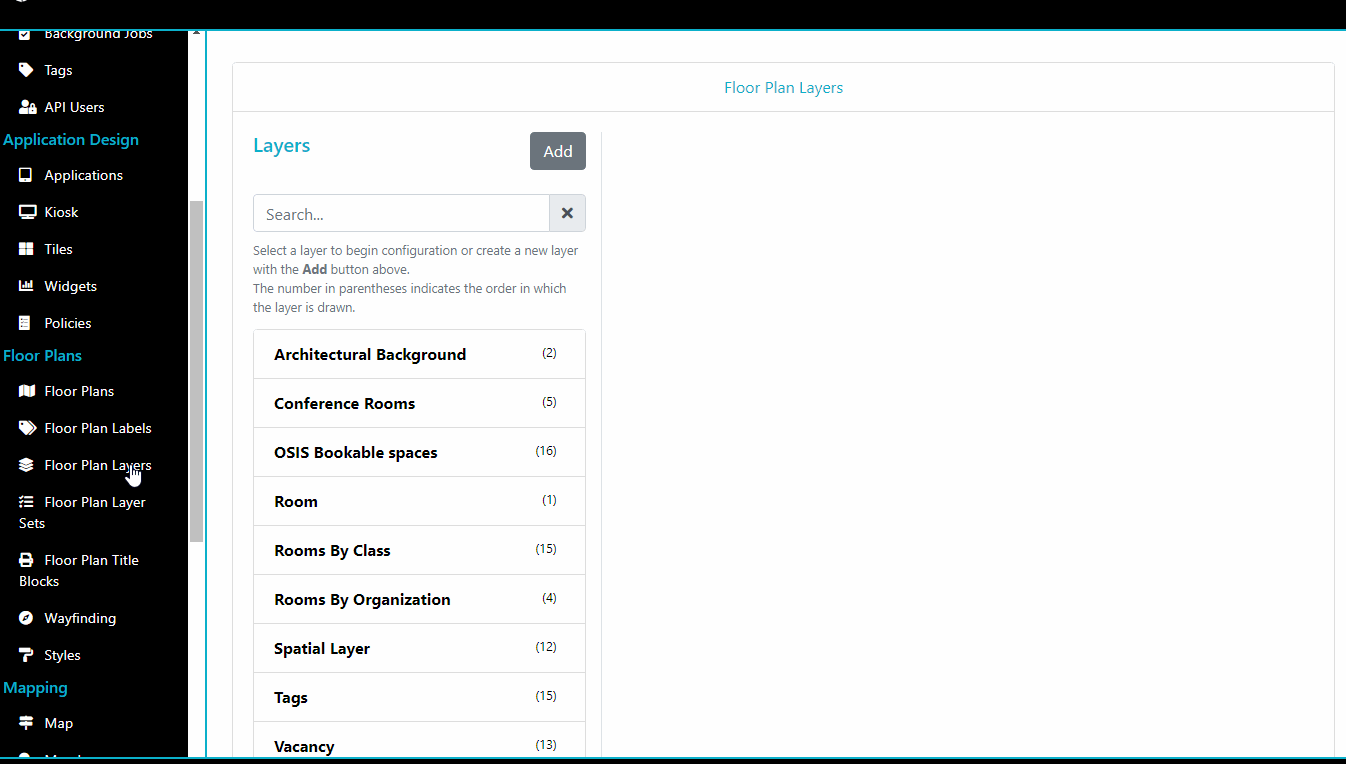
Creating Layers
When initially creating layers, it is recommended to create the following layers, and add them to all Layer Sets:
- Background: This is an Aesthetic Layer thats displays the architectural background information for a particular floor.
- Furniture: This is an Aesthetic Layer that shows all the furniture information for a floor.
- Room: This is just a simple Asset layer that shows all the rooms (room polygons) on the floor, fill opacity can be set to 0, and no themes should be applied.
See Layers documentation for information on each tabs.
Once these layers have been created we can proceed to specific layers.
Creating Themed Layers
Please make sure to filter in all the items you are trying to theme on. This helps clean up the layer renderings, by only bringing in the necessary items that will be styled on the layer.
Opting to Show Other Values will add an Other to the legend and will use the
default layer style, which is setup in the Styles tab.
In this example we will be creating a Layer to identify OSIS Bookable spaces.
Creating Non Themed Layers
In this example we will be creating a Layer to identify Rooms by Categories. In the case when applying filters we didn’t select specific items as we want to see all the assigned categories on the floor with the randomly generately color scheme. Also note the selected fill colour will not apply as the colours will be randomly generated, but it will use the Fill Opacity.
Putting it all together
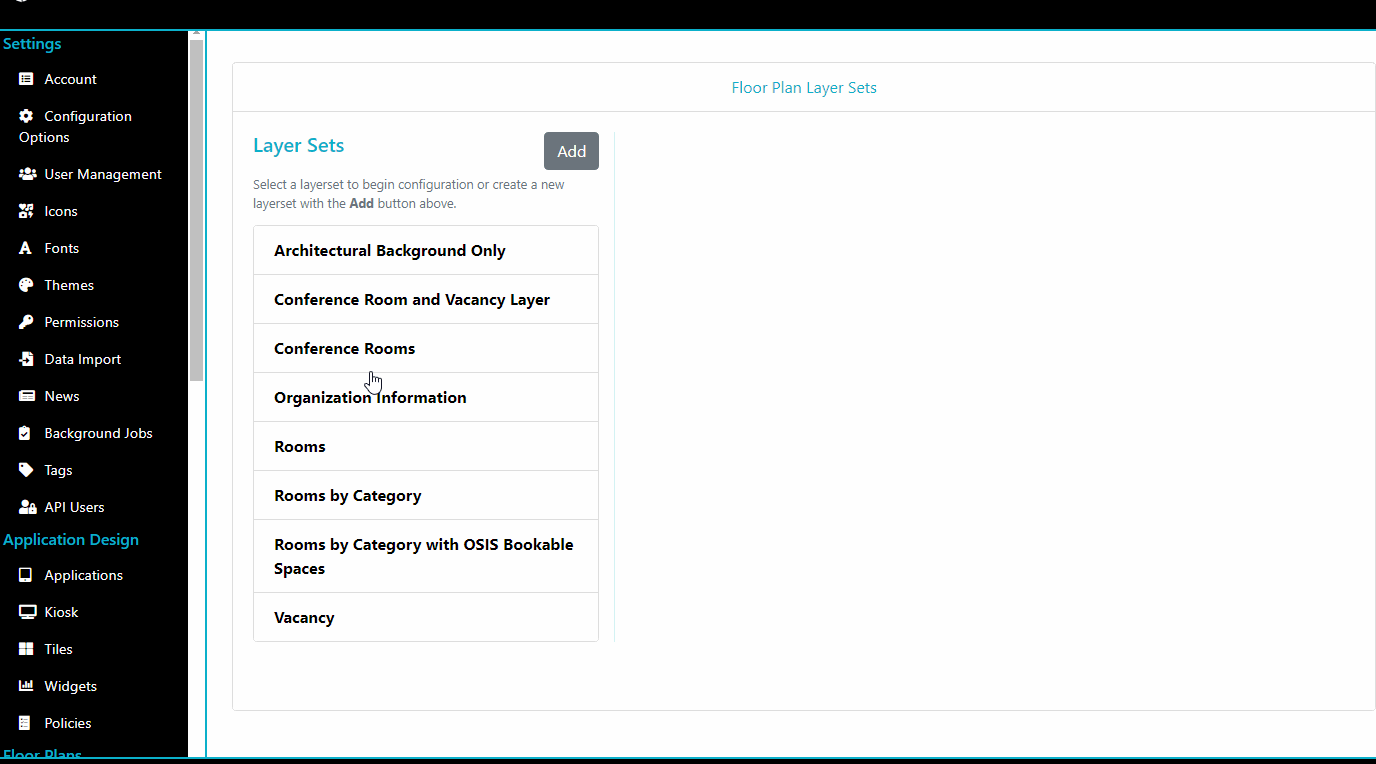
Creating a Layer Set with the Layers and Labels we’ve created above.
Note: if we want to allow users to checkin or reserve a space from the floorplan we Enable Booking Interaction, this adds a “Checkin/Checkout” button to the space on the floor which has the flex_space OSIS Bookable classification.
Setting up a Real Time Utilization Layer Set
There are several steps required to setup a Real Time Utilization layer to be used in our floorplan view.
- Create Icon to as indicators for In Use and Away utilization styles. (optional)
- Create the styles for In Use and Away utilization statuses.
- Create the Utilization statuses.
- Enable Real Time Utilization on desired Layer Set.
Creating Icons to use on layers and styles
We are using Icons from Font Awesome, so any icon from their gallery can be used within OSIS. https://fontawesome.com/icons?d=gallery
![]()
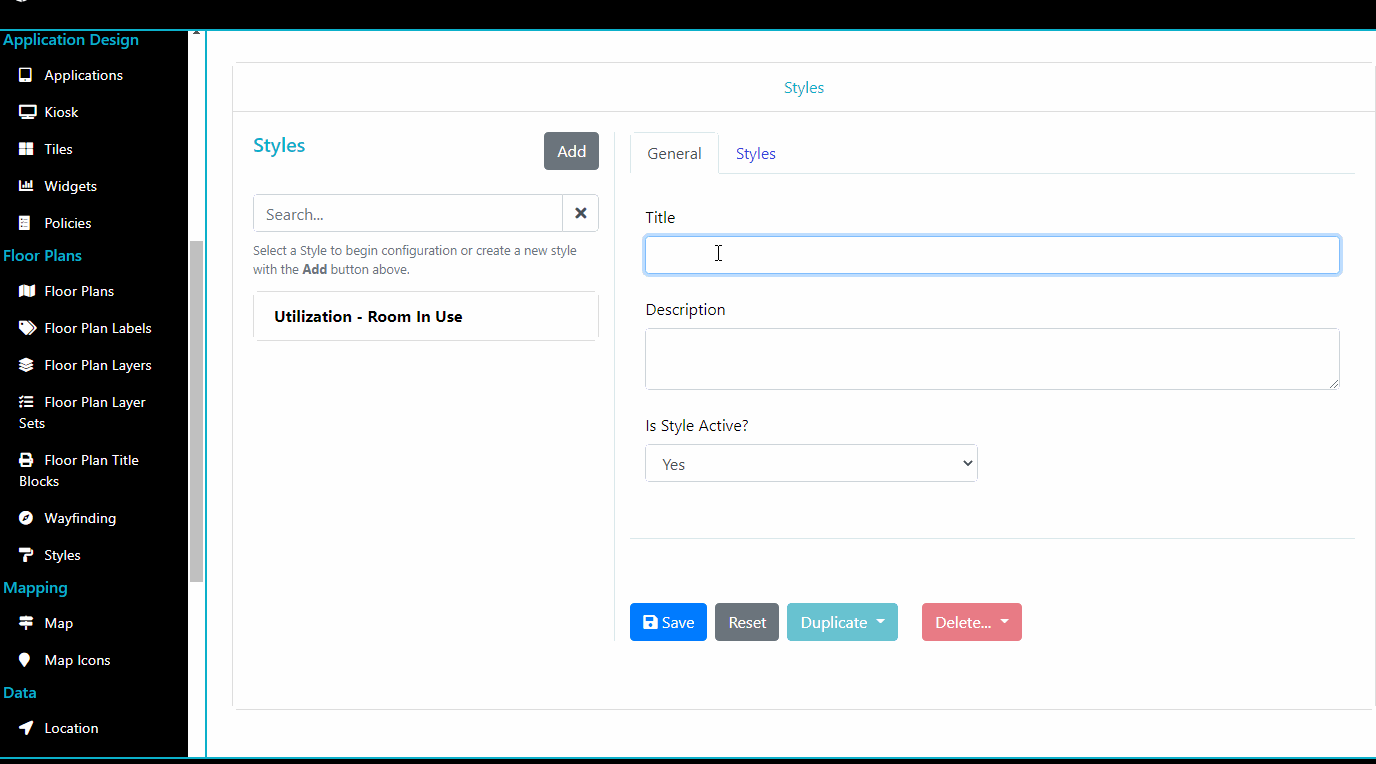
Creating Styles
The styles component is used to create a standalone style that can be applied anywhere throughout OSIS. A Style is similar to a Layer, but a Layer can only be used on Layer Sets, while Styles can be applied elsewhere and even overtop a Layer.
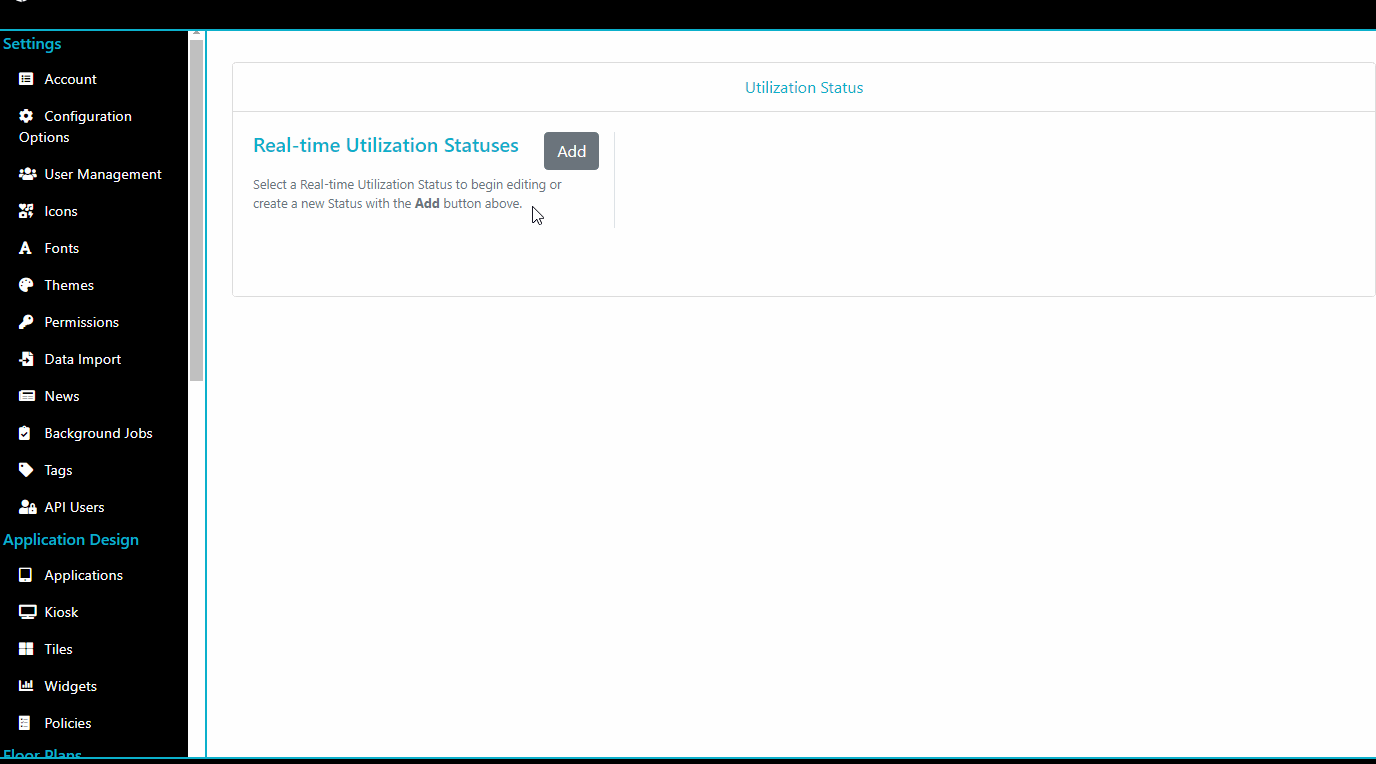
Creating Utilization Statuses
We will create the 2 standard statuses - In Use, Away Status Age field is used to set a limit for the Real Time Utilization status, only if the current status does not match the Real Time Utilization status.
Enable Real Time Utilization on Layerset
To have Real Time Utilization displayed on any of our layersets, we just need to enable it on the layerset setup and set the Real Time Utilization Layer to the default Room Layer and make sure that layer is also present on the Layerset.
Note: It is advised to use the room layer as its a simple aesthetic layer that draws the room polygons.
Creating Floorplan print sizes
These are the sizes of paper in which floorplans can be printed on (referred to as Title Blocks within OSIS).
We will be adding a ARCH C title block in the example below.
Note: make sure the total page height and width are at least 100px less the than that of the paper to allow proper margin when printing.